
That said however, my customers get what they want and what they have been requesting is a 2 page layout so.... here goes nothing!
I will be teaching this class at the crop for the cure this weekend. Details on that on my sidebar or in the tab above if you're interested. If you're in HRM or Truro area (or anywhere else between Halifax and Cape Breton I have space in my vehicle and would happily pick you up on the way. :)
Okay enough babble already... here it is... (be gentle.. remember it's my first one that I'm happy enough with to share with you and didn't just rip back apart).


The photo spots take a 4x6 photo on the left page and two 3x3 photos on the right page. I left the label shape on the right page empty for journaling to be added.

The font I used for the "Title Here" is from Artiste but all the rest of the cuts on the layout are from Art Philosophy. The "Wonderful beautiful day" stamp is from the Buzz & Bumble Workshop On The Go (WOTG) as is the patterned paper.
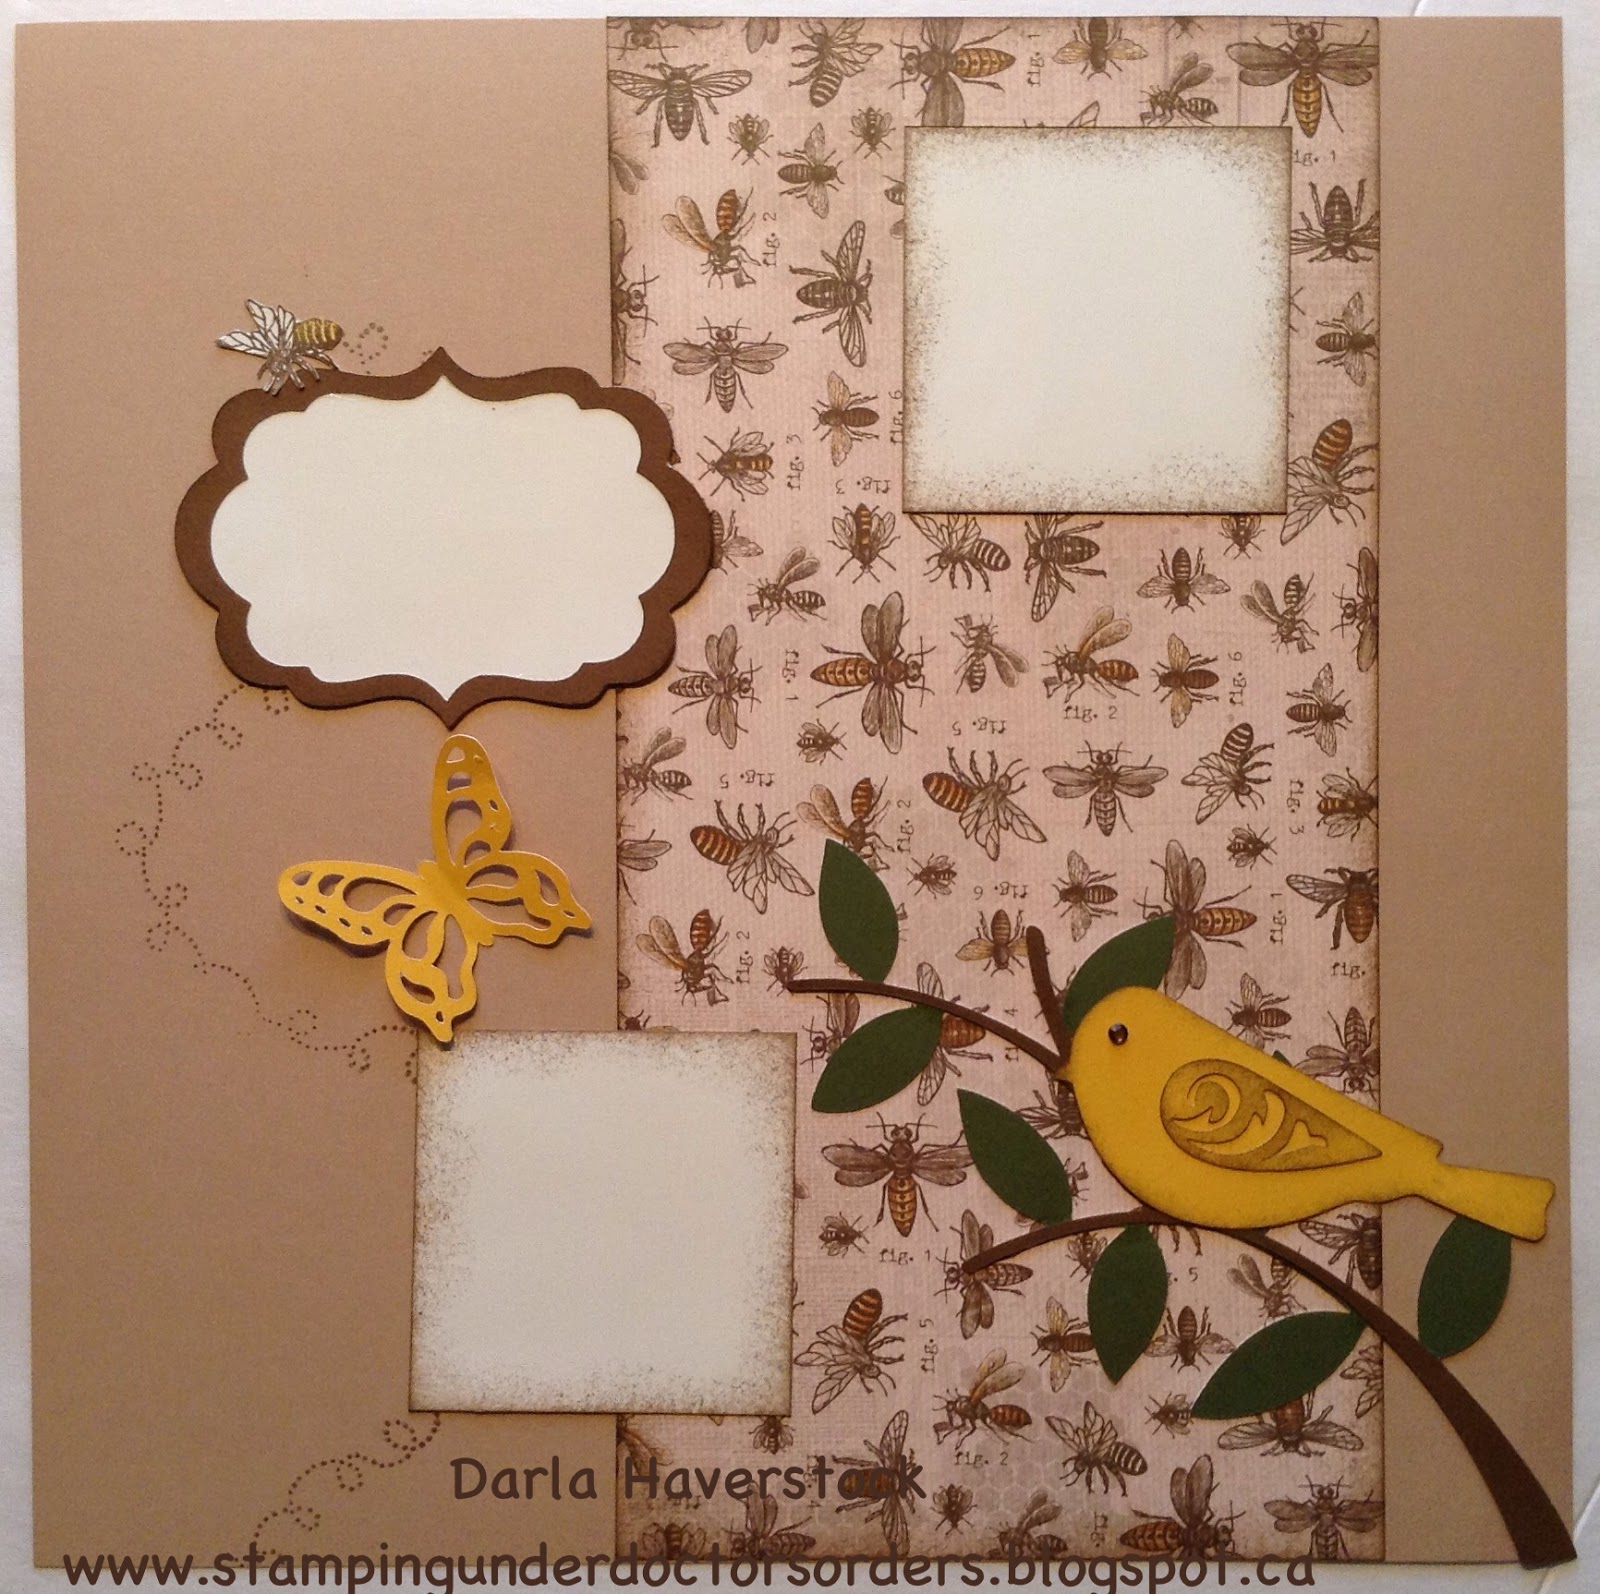
Distressed all the edges in Chocolate ink and stamped a couple bees from the Buzz & Bumble WOTG (which I quickly coloured the stripes with my honey alcohol marker), fussy cut them out and stuck them on.
The birds eye is a bitty sparkle that I coloured with my Umber Promarker. You could use one of the brown and tan assorted sparkles that come in the WOTG if you didn't already use them all like me. LOL
The bees flight path is also from the stamp set in the WOTG. It is a straight path normally but one of the great things about our stamps is you can flex them into different shapes if you choose to like I did here.
Just a quick note for you on how I create.. I do my entire mock up on the computer typically.. like this one I did in Cricut Craft Room. Here's a screen shot of what this looked like in steps in concept...


It never occurred to me to use my Gypsy to lay out a layout. And now that I'm trying to catch up (I'm a year behind in scrapbooking) maybe it will help. Thanks, Darla.
ReplyDeletesuper cute thanks for sharing :)
ReplyDelete